|
|
|
|
|

|
|
|
|
Batter boards help determine the exact placement of corner posts. |
|
|
|
|
|
|
|
|
|

|
|
|
|
The flag marks the position for the first post. |
|
|
|
|
|
|
|
|

|
|
|
|
This post pounder came with the kit and kept the end of the pipe from being damaged by the sledge hammer. |
|
|
|
|
|
|
|
|
|

|
|
|
|
All posts pounded in and level. |
|
|
|
|
|
|
|
|

|
|
|
|
The rafters are composed of seven pieces of pipe. |
|
|
|
|
|
|
|
|
|

|
|
|
|
The pipes are secured with a screw at each joint. |
|
|
|
|
|
|
|
|

|
|
|
|
The rafters are all laid out next to the ground posts. |
|
|
|
|
|
|
|
|
|

|
|
|
|
The rafters are lifted into place by tying a rope to the center of the rafter and pulling up toward the scaffolding, then bolted to the ground posts. |
|
|
|
|
|
|
|
|

|
|
|
|
Perlins are loosely attached with clamps at this point. |
|
|
|
|
|
|
|
|
|

|
|
|
|
Thanks to the help of good neighbors, it only took about 3 and a half hours to lift and secure all of the rafters. |
|
|
|
|
|
|
|
|

|
|
|
|
It is starting to look like a high tunnel now. |
|
|
|
|
|
|
|
|
|

|
|
|
|
This "jig" was used to ensure a 4'spacing between the rafters. A bungee cord held the rafters together as the clamps on the perlins were secured. |
|
|
|
|
|
|
|
|

|
|
|
|
It was tedious work and took quite a bit of time to position and tighten the clamps and screw all of the perlins together. |
|
|
|
|
|
|
|
|
|

|
|
|
|
Duct tape is wrapped around each clamp to prevent damage to the cover. |
|
|
|
|
|
|
|
|

|
|
|
|
Pressure treated base boards are bolted to the ground posts. |
|
|
|
|
|
|
|
|
|

|
|
|
|
We will anchor the tunnel with 12 four foot anchors. |
|
|
|
|
|
|
|
|
|
|
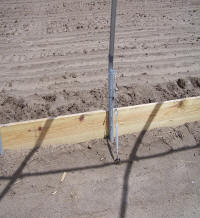
|
|
|
|
Rafters are secured to the anchors. |
|
|
|
|
|
|
|
|
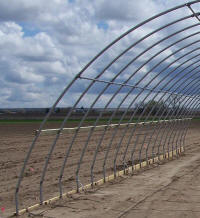
|
|
|
|
Ribbon boards are added. This marks the height of the roll-up sides. |
|
|
|
|
|
|
|
|
|
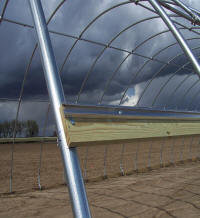
|
|
|
|
"U" channel is secured to the ribbon board. This will secure the top cover when it is installed. |
|
|
|
|
|
|
|
|
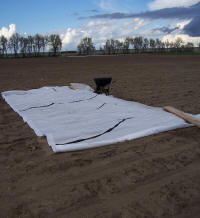
|
|
|
|
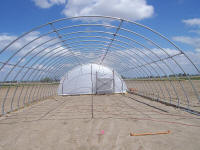
The end is ready to be installed. |
|
|
|
|
|
|
|
|
|
|
|
|
|
The end is held on place with clips and tek screws. |
|
|
|
|
|
|
|
|

|
|
|
|
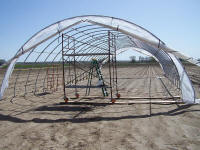
"U" Channel is attached to the end rafters. |
|
|
|
|
|
|
|
|
|
|
|
|
|
With both ends completed and all "U" channel secured, it is now time to cover the top. |
|
|
|
|
|
|
|
|
|
|
|
|
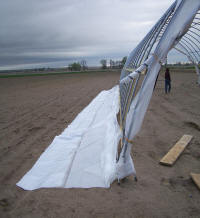
Six ropes are tied to the edge of the 48' X 75' sheet of greenhouse film. The ropes are then thrown over the rafters. |
|
|
|
|
|
|
|
|
|
|
|
|
|
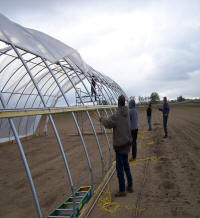
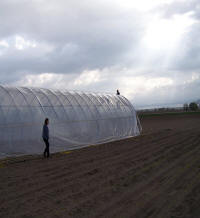
Everyone grabbed a rope and pulled the cover over the rafters. It was easy. |
|
|
|
|
|
|
|
|
|
|
|
|
The cover is attached to the end rafter first. |
|
|
|
|
|
|
|
|
|
|
|
|
|
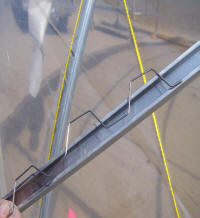
The cover is attached to the "U" channel using "wiggle wire". |
|
|
|
|
|
|
|
|
|
|
|
|
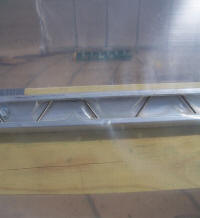
We have already had some high winds to test this method of attachment. It held up real well. |
|
|
|
|
|
|
|
|
|

|
|
|
|
With the side roll up assembly completed, this project is done. Whaw Hoo!!!!! |
|
|
|
|
|
|
|
|